
QF Token Migration Guide
QF Token Migration - Step-by-step Guide
Section titled “QF Token Migration - Step-by-step Guide”This guide walks you through the complete migration flow using the QF Network Tokens Migration app on Ethereum and the Claim Tokens app on the QF Network. By following this guide, you will be able to convert your ERC-20 QF on Ethereum into QF tokens on the QF Network.
1) Wallet connection
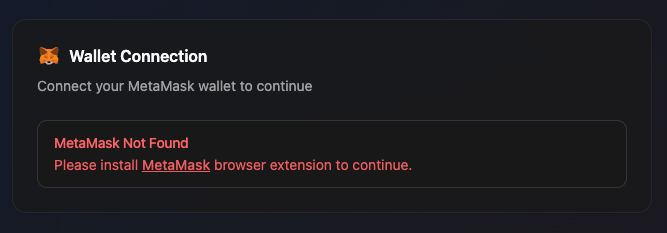
Section titled “1) Wallet connection”Open the QF Network Tokens Migration app at https://migrate-tokens.qfnetwork.xyz/ and connect your MetaMask wallet.
If MetaMask is not installed, you will see a warning - please install the extension first.
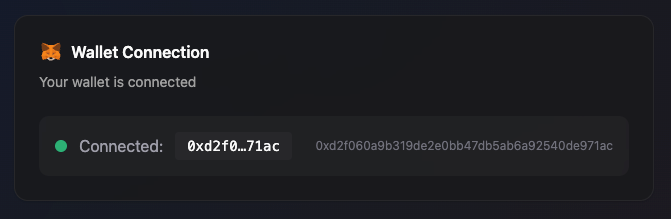
When MetaMask is available and connected, your address is shown.
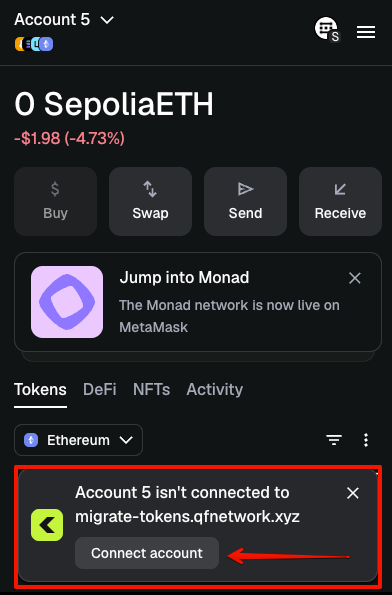
You can choose the account you need in MetaMask.
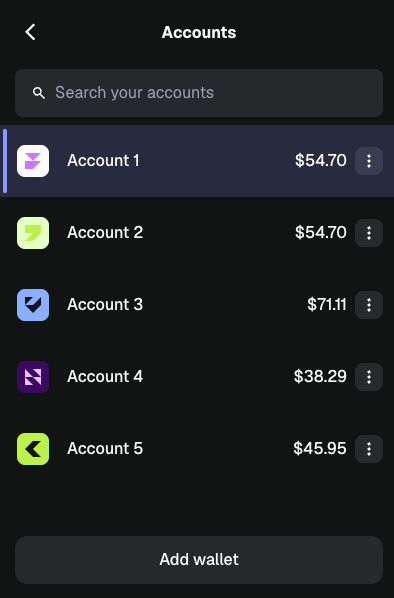
When you switch accounts in MetaMask, the app updates automatically.
2) Enter deposit amount
Section titled “2) Enter deposit amount”After connecting your wallet, the app checks your token balance and deposit status. If deposit is available for this Ethereum address, you can enter the amount to migrate.
⚠️ Please note: each Ethereum account can submit only one migration transaction. ⚠️ Deposit all tokens you want to migrate in a single transaction.
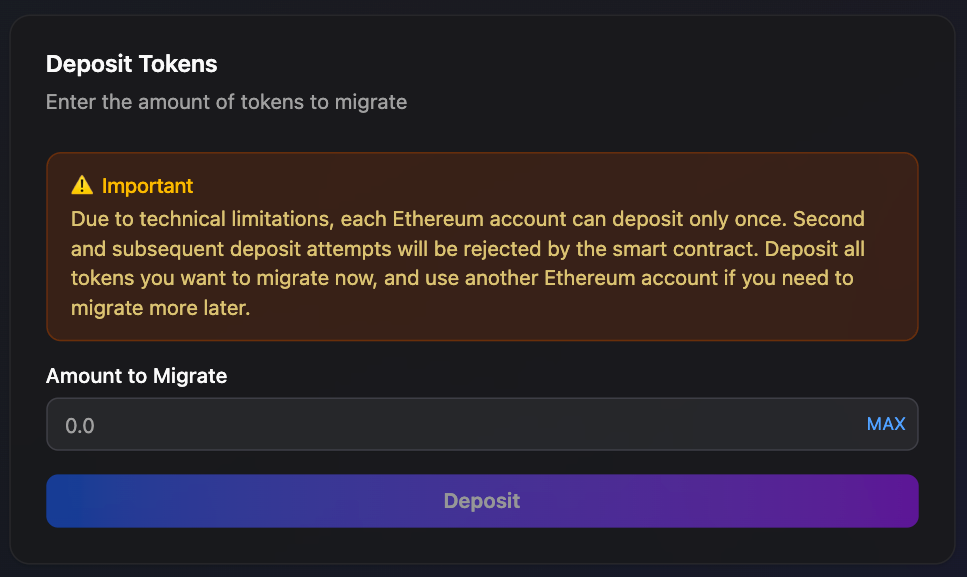
Use MAX to auto-fill your full current token balance.
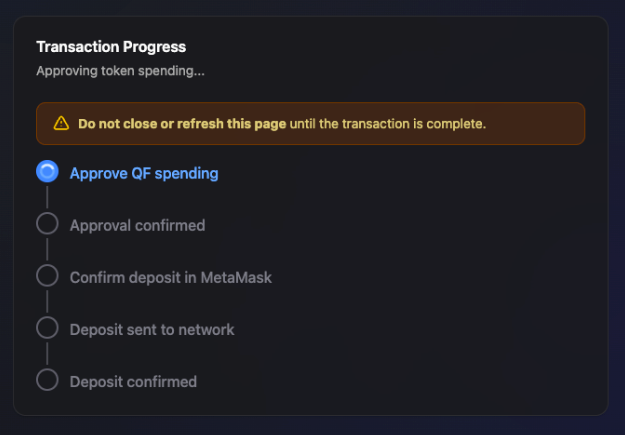
3) Approve spending
Section titled “3) Approve spending”Approve ERC-20 QF token spending to the migration smart contract.
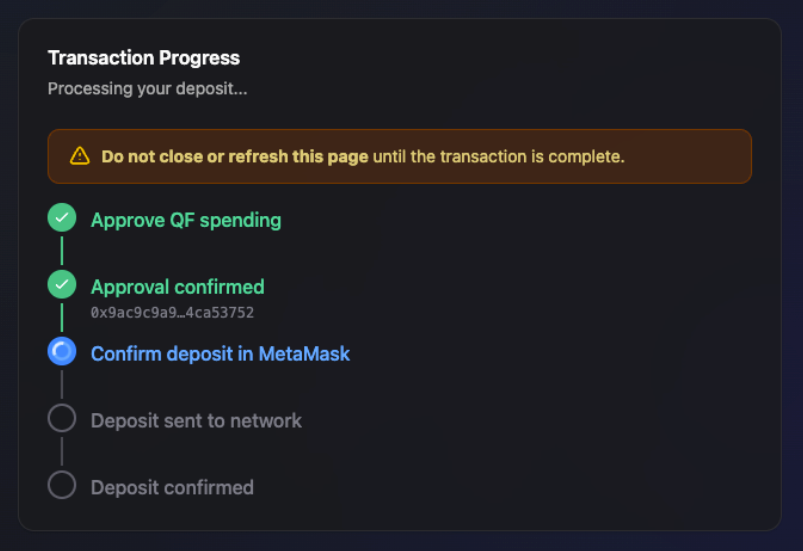
4) Deposit transaction
Section titled “4) Deposit transaction”Confirm the deposit to migration smart contract in MetaMask.
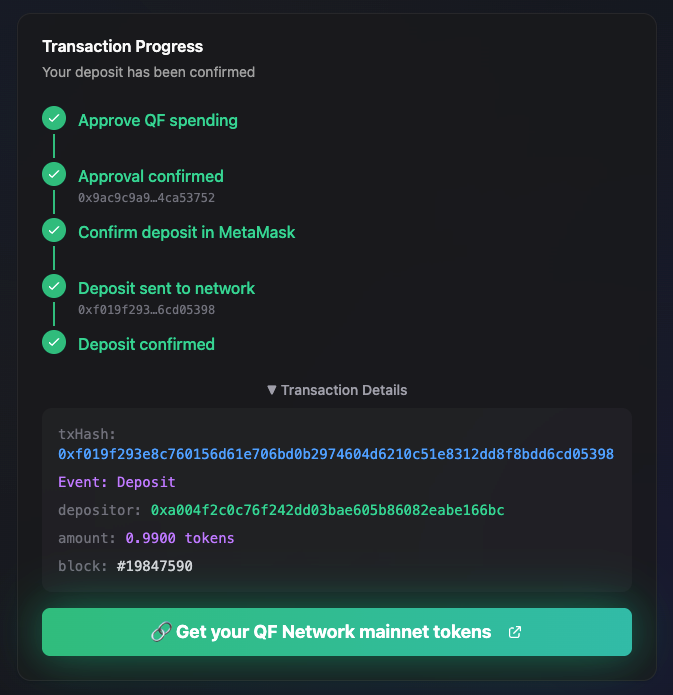
5) Success state
Section titled “5) Success state”Once the transaction is confirmed, you will see a success state, transaction details, and a portal link.
After a successful deposit, this Ethereum address is treated as already deposited and cannot be used for another migration transaction.
Click the portal.qfnetwork.xyz link. You will be redirected to the QF Portal claims page.
6) Set up a wallet and create a QF Mainnet account
Section titled “6) Set up a wallet and create a QF Mainnet account”Before continuing, you need a QF Mainnet account in a browser wallet extension.
We recommend FOSS Talisman extension - Download. Get started.
- Install the wallet extension in your browser.
- Create a new account or import an existing one (seed phrase / JSON).
- Make sure the account appears in your accounts list - you will select it in the next step (Select the QF Mainnet account).
7) Open the Claim Tokens page
Section titled “7) Open the Claim Tokens page”After a successful step 5, click the “Get your QF Network mainnet tokens” link and you will be redirected to the correct page, or open portal.qfnetwork.xyz directly.
-
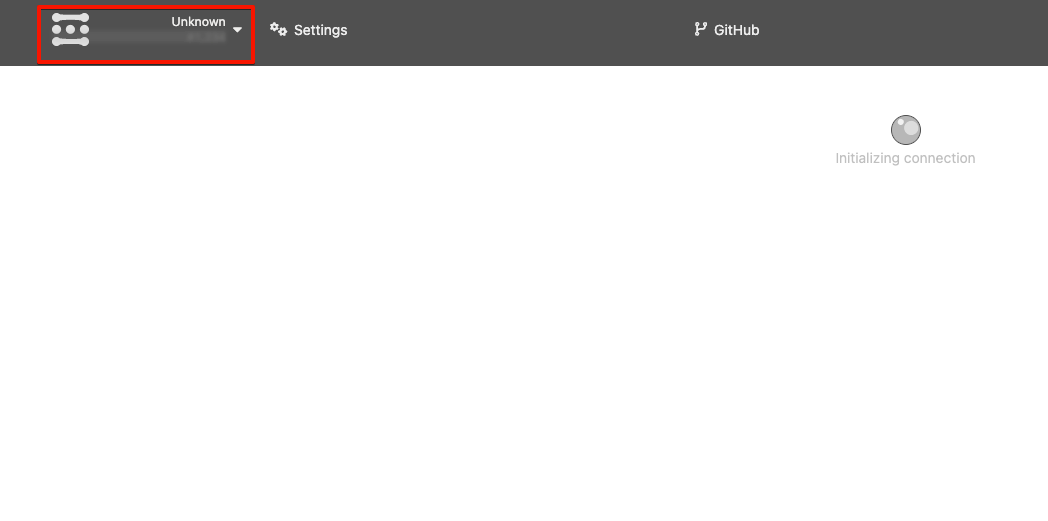
As soon as you land on the portal, select the network by clicking the highlighted area.
-
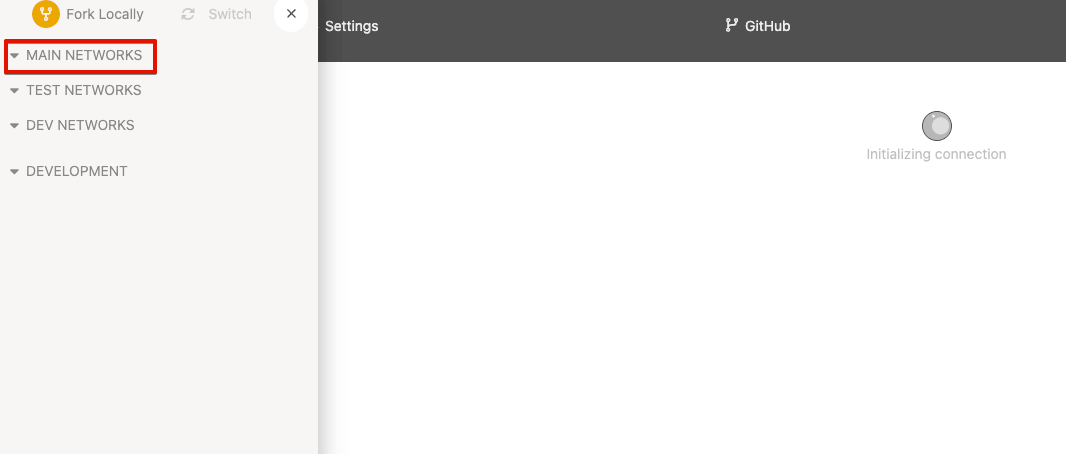
Expand the Main Networks section.
-
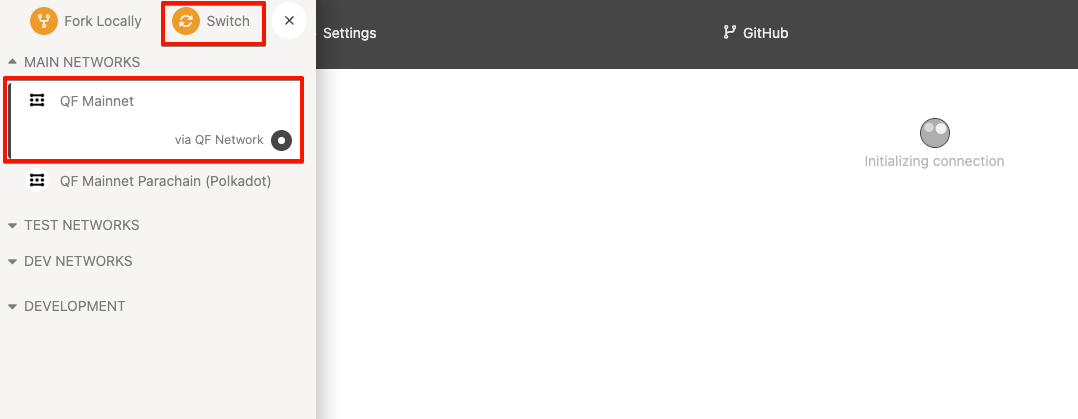
Select QF Mainnet and click Switch.
-
Then, open Accounts -> Claim Tokens.
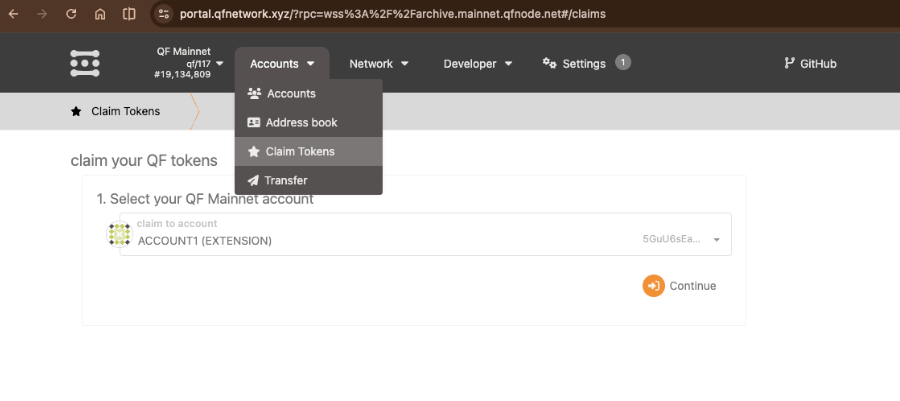
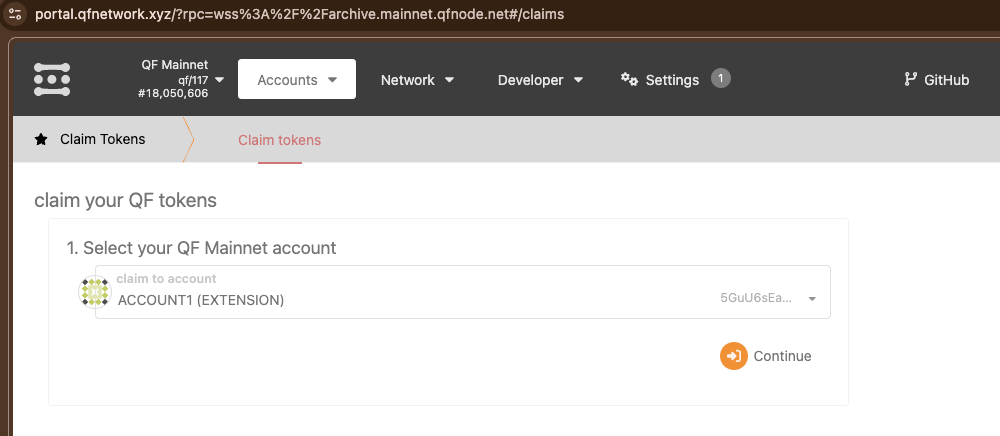
8) Select the QF Mainnet account
Section titled “8) Select the QF Mainnet account”Select the QF Mainnet account where you want to receive the migrated tokens, then click Continue.
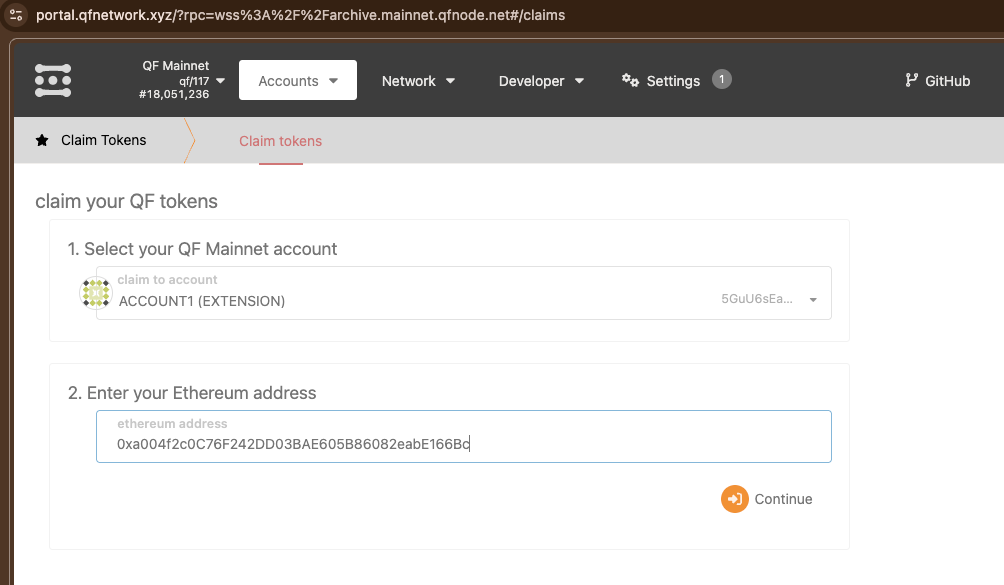
9) Enter your Ethereum deposit address
Section titled “9) Enter your Ethereum deposit address”Next, enter the Ethereum address from which you deposited in the QF Network Tokens Migration app, then click Continue.
10) Sign the message and confirm
Section titled “10) Sign the message and confirm”-
Click the gray field, and it will be copied.
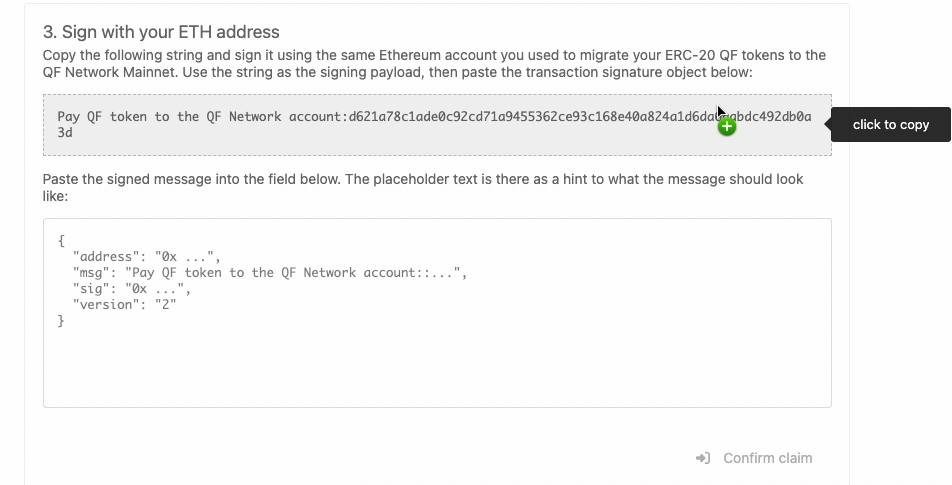
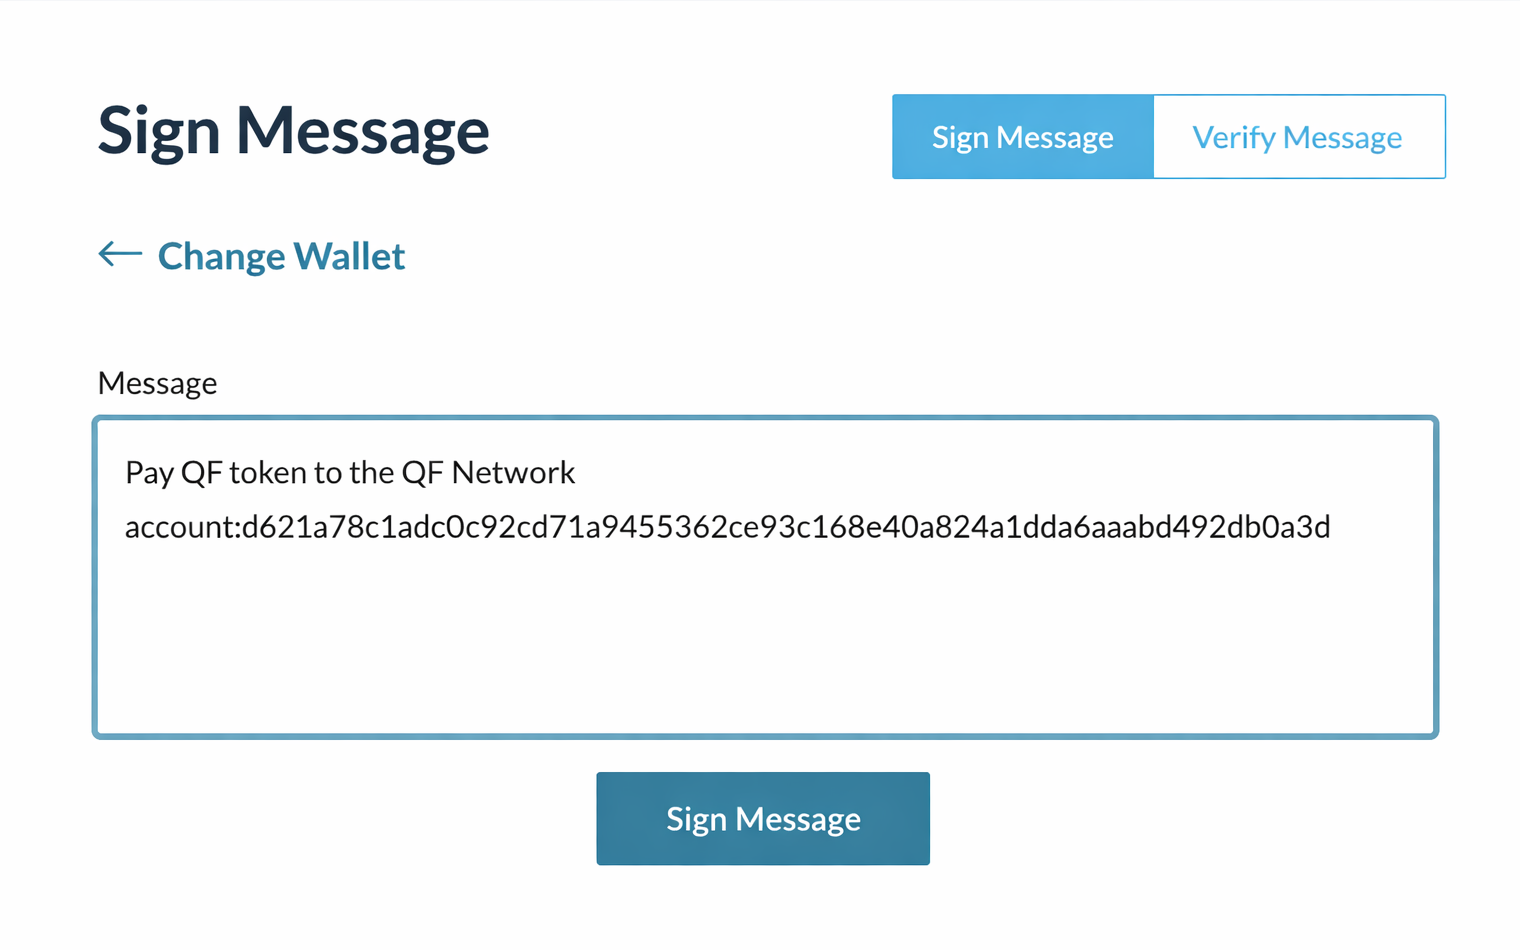
-
Open MyCrypto and go to the Sign Message section. Unlock the same Ethereum account you used for the deposit, paste the copied claim message, and click Sign Message.
-
Copy the generated JSON signature and paste it into the field below.
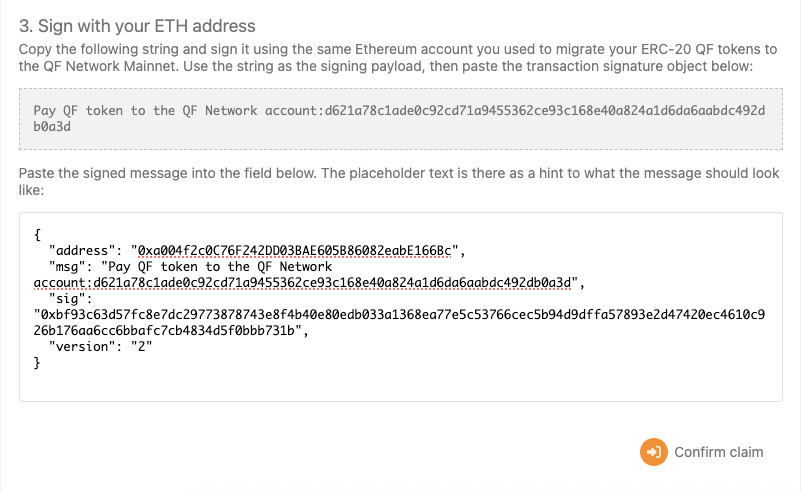
-
Once the signature is accepted, the portal will show that your Ethereum account has a valid claim and the amount available for claiming. Click Claim to continue.
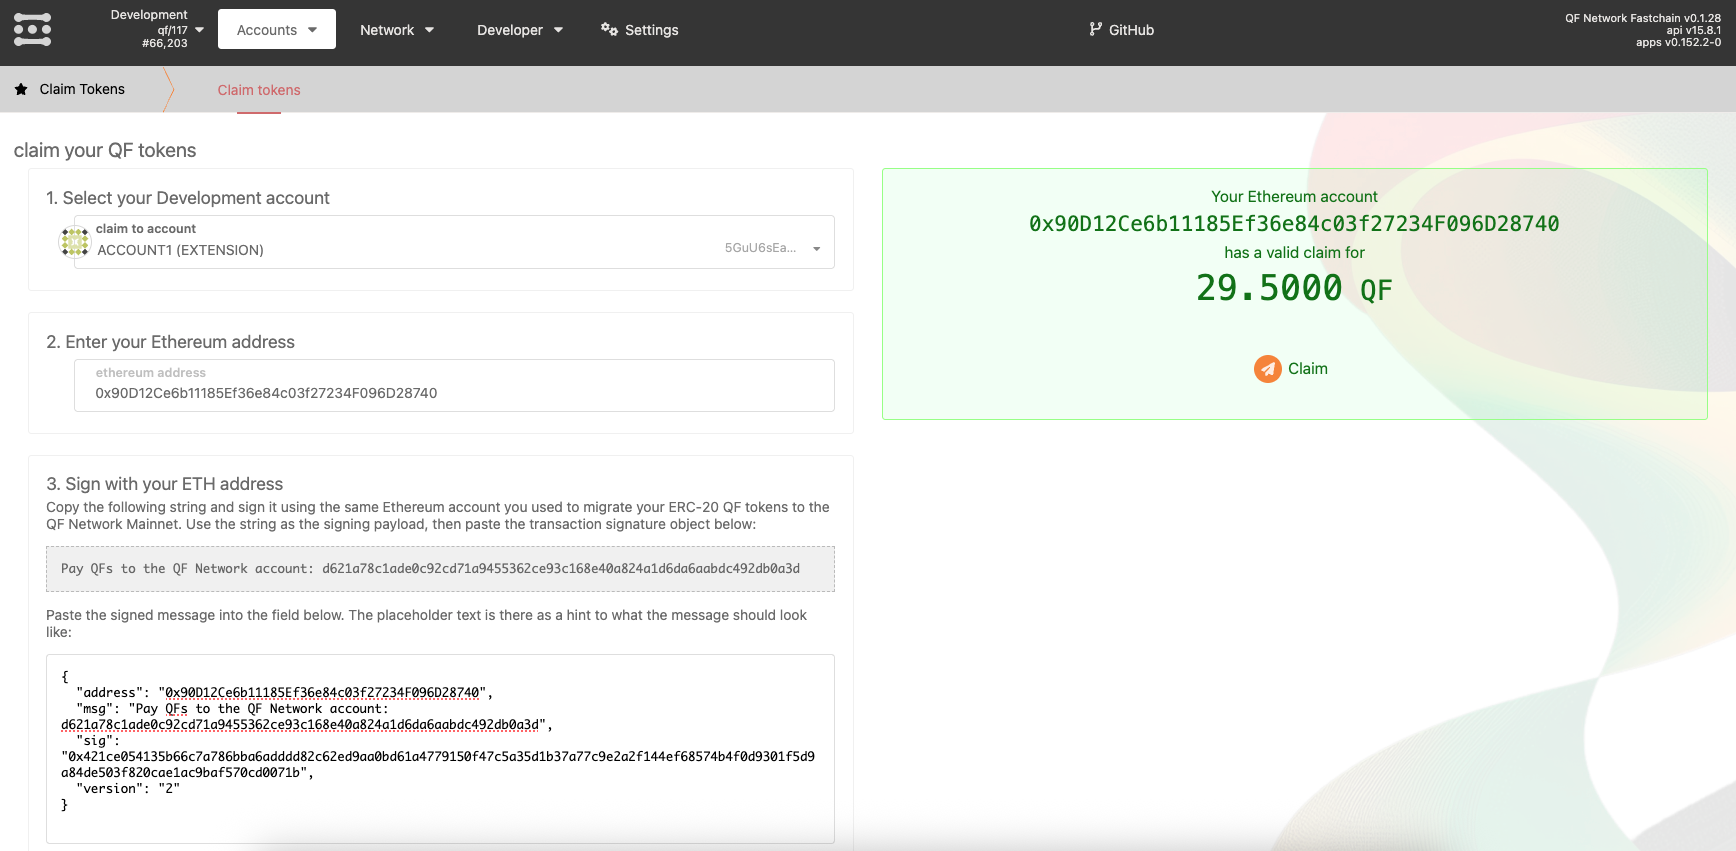
-
After a successful claim, the migrated tokens will be credited to your selected QF Mainnet account.
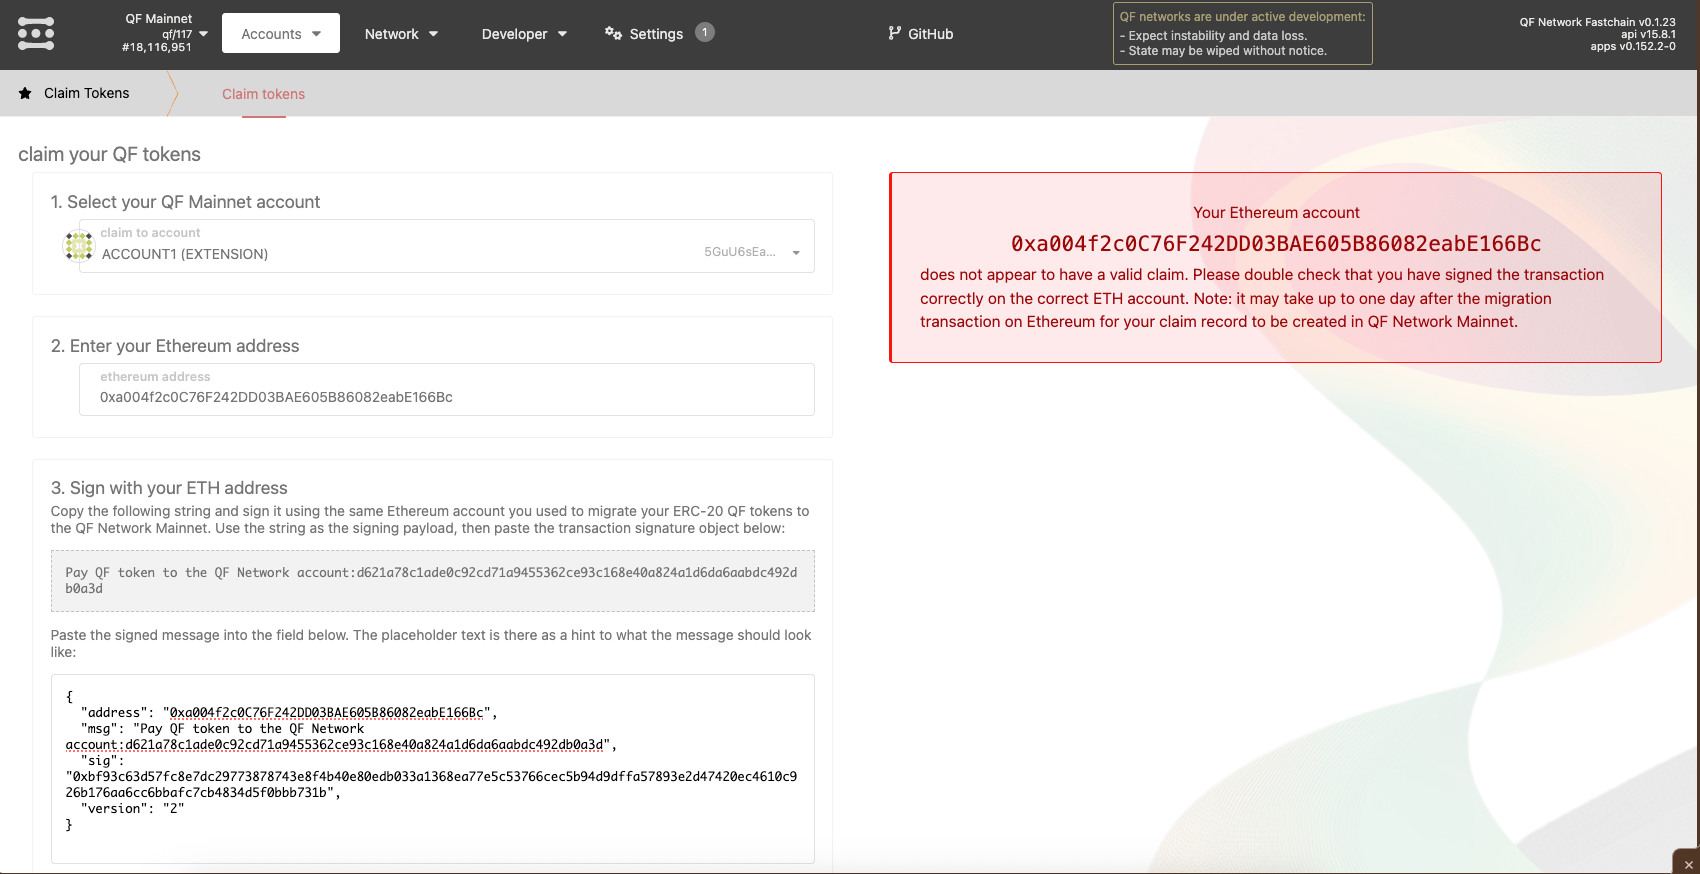
-
If, after clicking Claim, you see a message stating that your Ethereum address does not have a valid claim, it means the claim record on QF Mainnet has not been created yet or the message was signed with the wrong Ethereum account. Please wait and try again later - after the Ethereum deposit, this may take from a few minutes up to 24 hours.
11) Verify the claimed tokens on your account
Section titled “11) Verify the claimed tokens on your account”If the claim is successful, the migrated tokens will be credited to the QF Mainnet account you selected earlier. You can verify this in the portal by checking the selected account and its current free balance.
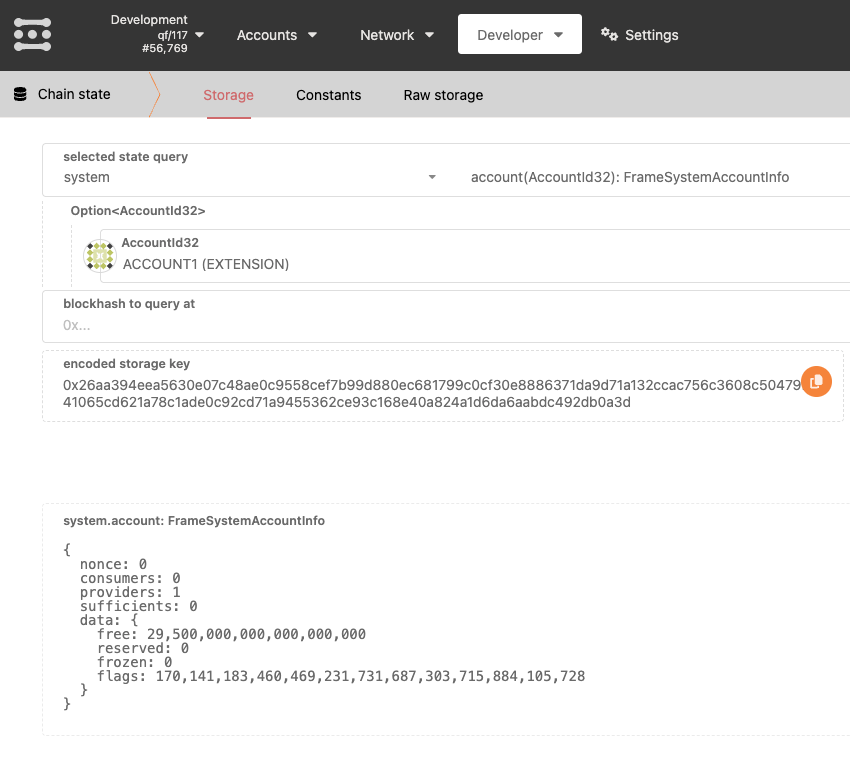
In the example below, the selected QF Mainnet account already contains the claimed QF tokens.